Showing posts with label Befores and Afters. Show all posts

Wednesday, November 14, 2012

Master Bedroom {Done.Done.&Done... mostly}

I'm so excited to be done with our bedroom!  I was really starting to get frustrated that I was going to have to birth in an unfinished room.  But, Husband was getting sick of it too and gave me the go ahead to get the last few items and he even did all the assembly for the pieces.  I guess the nice thing about co-sleeping is that instead of nesting a nursery for our baby, we nested our family bedroom.  Still not sure how the toddler sleeping situation is going to play out, but for now our room is done and we're very happy with the results. Previous posts regarding our bedroom update can be found here.
View from the doorway. 
Husband picked out this frame from Ikea.
Comforter here.
Sheets here.
Nightstands from thrift store, repurposed and painted {full post here}
Curtains are from Target available here.
{please excuse my prenatal vitamin overflow on my nightstand}
That curtain is covering up the bathroom entrance.  It used to be a pocket door but when we moved in it was just a walkway.  Now, there is a little more privacy.
New outlet covers and light switches from Home Depot
Purple wall is Spiced Plum from Home Depot primer and paint in one by Behr
For the closet I used a tension rod {in the shower department},
but used the same curtains found here.
Door knobs are from home depot.
Detail of the Henna Curtains 
I was going to make my own closet cover and curtains but when I went to buy the rods I found this fabric and so I got it.  It sort of felt like cheating, except I had been looking for fabric for months and I never found what I wanted, so even though they were already sewn and I had to buy them new, it was totally worth it! 
The Curtain Rods are also from Target and available here.


And just to give you an idea of what I started with here are the Befores and Afters...
pale pink upon move in.
My original color scheme and D.I.Y. closet cover.
Finished.

From the doorway, more pale pink WALLPAPER!
My first color scheme.
My FINISHED Moroccan master bedroom.

Well, mostly finished.  I still need to get a proper light and fan purchased and installed, which can wait until spring 2013 {maybe this, this or this one}.  I also want this mirror form Ikea for the purple wall. AND we need a wool rug, maybe a runner or full.  

Hope you like the upgrade, we sure do!
Jenn


p.s. If you're curious how much a redecor. project like this runs, I'd say including the bed, mattress, night stands, curtains and lanterns, basically EVERYTHING in this room... about $1000 maybe $1200.  

Breakdown: Bedding about $200, curtains $250ish, Bed Frame and Mattress 600? (should have kept the receipt), Nightstands $15 plus paint, Lanterns $25 each, Outlet covers & door knobs maybe another $25?


You can also follow along on Twitter, Pinterest, Facebook, and Tumblr!

p.s. if you have a moment, I'd really appreciate your vote. Click the banner below and then the owl on the left. {No email required and no spam generated! promise}
Click To Vote For Us @ the Top Baby Blogs Directory! The most popular baby blogs

Wednesday, June 27, 2012

Before and After Kitchen Shelves {How to install IKEA shelves}

I'm so excited about my new pantry!  We don't really have one in this house and we've been storing our dry food in the laundry room cupboards, which is inconvenient.  So, my mom offered to purchase these new shelves for us, and Husband hung them up as an Anniversary present.  They weren't difficult, per se, they were just time consuming and not really something I could do while watching Sonja.  I helped though!  

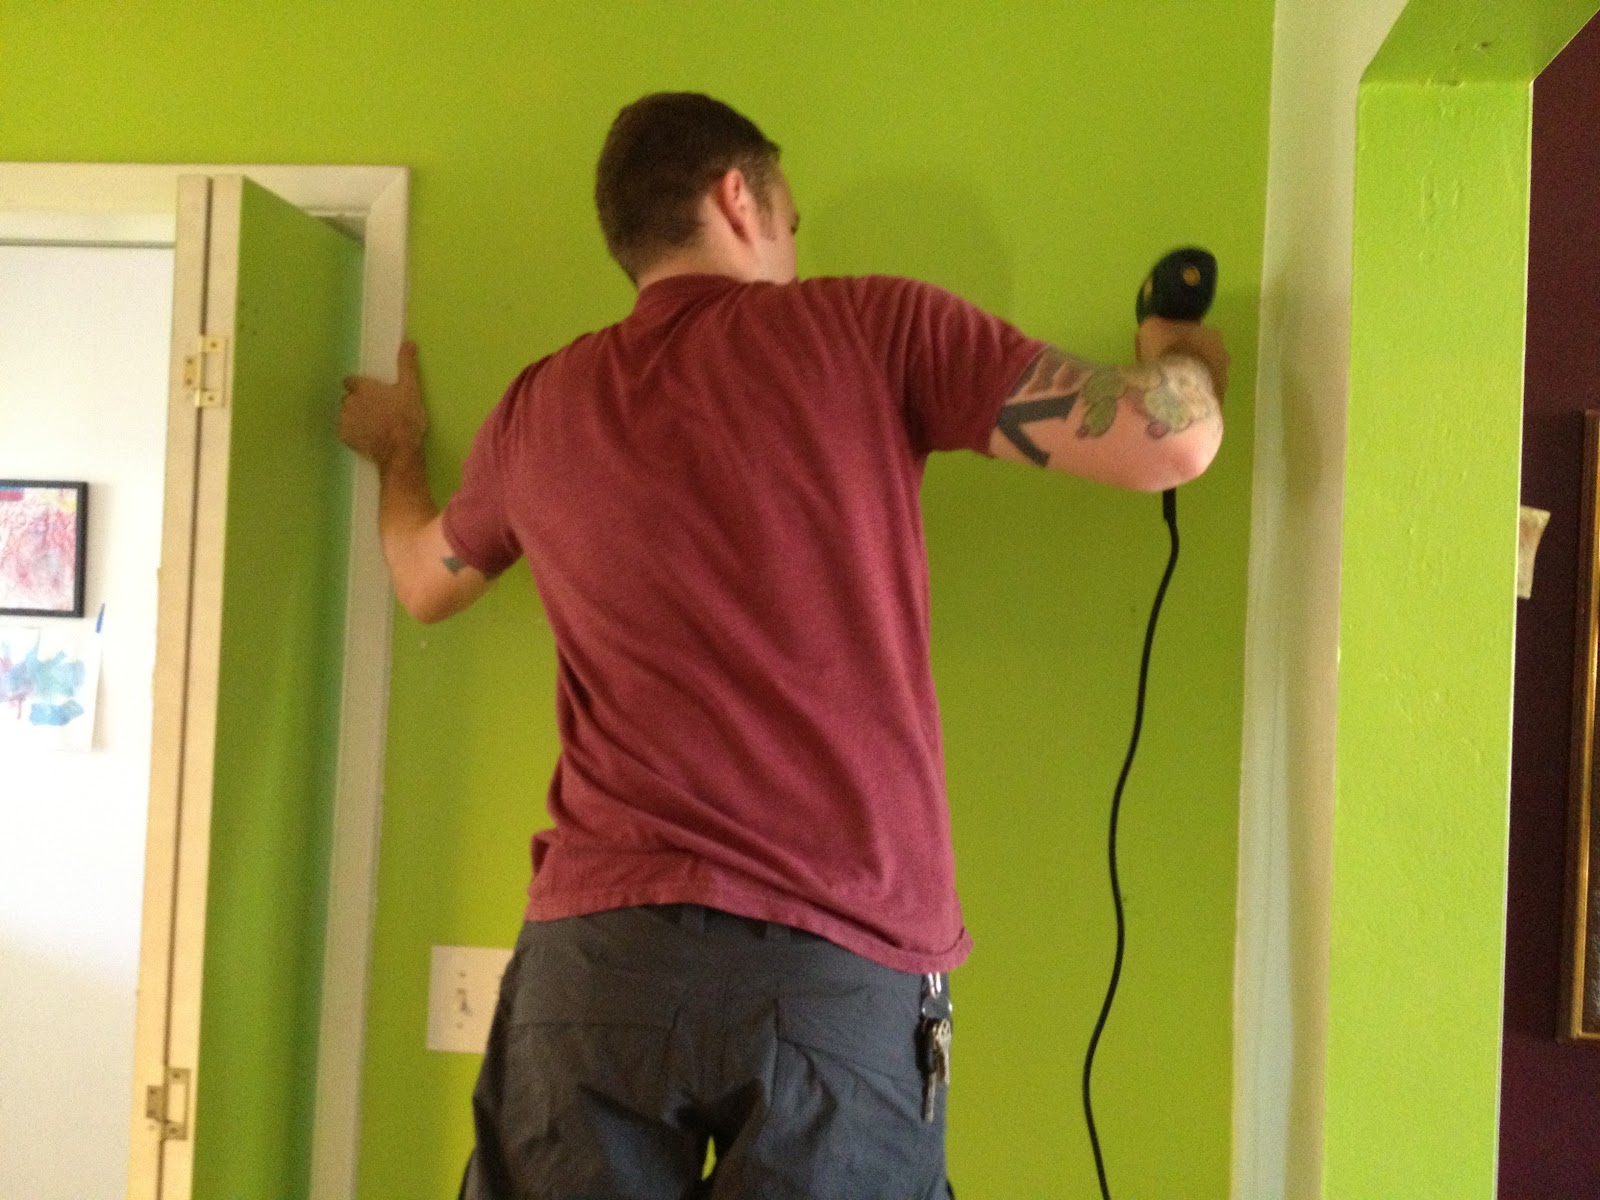
First, I marked all the holes on the left by making sure they would fit above the light switch.
HOWEVER! I didn't think about the electrical box sitting in the wall, granted we didn't have any problems, I would recommend moving it up or over if you have a similar set up.
I marked with pencil inside of the holes, but Husband requested in the future, to use a marker.
I spaced them out every 13 inches so a 12 inch item could fit on the shelves
I also marked 5 inches away from the door frame to make sure they lined up and were centered.
Do not attempt this without a level, you will hate everything if you have to redrill into concrete/brick because your shelves aren't level.
These shelves didn't come with screws for the wall.  So, we picked up a set of screws and anchors from home depot and they were a good fit for our brick wall.
We used the red ones, but it's great to have all these sizes for different projects in the future.
Even though Husband claims he will never drill into the brick again.
We'll see about that...
Close up.
LEVEL it's really important to double check your work before you start drilling in the final set!
**SOMETHING IMPORTANT, we didn't realize was that each shelf was slightly different.  We're talking 2 or 3 cm different.  So, my original marks were slightly off.**
MAKE SURE TO MARK EACH SHELF "SHELF 1,"  "SHELF 2," AND SO ON, THEN MARK THE WALL FOR EACH SELF RESPECTIVELY AS ASSEMBLED.  
The times he had to re-drill, because the holes were slightly off, were so frustrating for him and I felt like it was my fault {even though it wasn't}!
Done and Done.

I'm so happy with my new shelves and bulk storage.  Now, I can see when we're low on something and I don't have to walk all the way to the laundry room when making meals.  It's a perfect set up for our home and pretty too!

Thanks Husband!


You can also follow along on Twitter, Pinterest, Facebook, and Tumblr!

Monday, June 4, 2012

D.I.Y. Toddler Activity {Painting Plants}


This afternoon when returning from our errands I noticed our flower plant in the front wilting from the summer sun, before it had a chance to kill all the leaves we snagged a few for an art project! 
{Please excuse the iphone pictures, I didn't have time to grab the "real" camera}

First, we started with watercolor painting the veins of the leaf.
Then stamped that onto a piece of cardstock.
Removed the leaf and VoilĂ ! watercolor art.

And when we were done experimenting with watercolor stamping, we moved on to acrylic painting...
I just grabbed a few of my green acrylic paints and let Cupcake here choose her colors...
With slightly more supervision, she painted these leaves with the colors of her choice.
Then we stamped again.
I like these way more than the watercolor version, but to each his or her own!
and then she just kept painting. 
and I helped, notice the top of our finished pieces; we both painted leaves!
I'm keeping the painted leaves to frame next to the finished artworks. 

Hope that gives you some artistic inspiration for you and your toddler!
-Jenn

Find me on Twitter, Pinterest, Facebook, and or Tumblr