Showing posts with label Baking. Show all posts

Thursday, September 26, 2013

Organic Espresso & Cream Cheese Brownies {inspired by Cafe Solstice}

I made these for my sister's birthday, inspired by her favorite brownies in Seattle, from Cafe Solstice.

you're welcome.

Ingredients:
4 Large ORGANIC eggs
1 cup organic raw sugar
1 cup organic brown sugar
3 tablespoons FINELY ground organic espresso beans
8 ounces ORGANIC butter {but coconut oil would have been a good substitute}
1 1/4 cups organic cocoa powder
2 teaspoons {homemade} vanilla extract
1/2 cup flour
1/2 teaspoon salt {we use pink Himalayan}

Mix, use oil to coat the inside of the dish, pour in brownie mixture, then add globs of cream cheese mixture and using a toothpick pull up and down then right to left to create marbled effect.

for the cream cheese mixture;
1 tub organic cream cheese
1 cup powdered sugar
splash vanilla extract
blend until smooth

Bake at 300* F for about 45 minutes {I used an 8x8 as directed in my base recipe, but since I added so much a 9x13in would have been better, just check on it earlier so you don't burn anything}


Happy Birthday Brittany!
-Jenn


You can also follow along on TwitterPinterestFacebook, and Tumblr!

p.s. if you have a moment, I'd really appreciate your vote. Click the banner below and then the owl on the left. {No email required and no spam generated! promise}
Click To Vote For Us @ the Top Baby Blogs Directory! The most popular baby blogs

Sunday, December 23, 2012

Winter Cookies {photo documentation and a gift idea}

This past week we made sugar cookies.  It's a tradition I loved with my mom growing up and wanted to continue the creative process with my daughter.  Aunt Brittany helped with the baking and below you can follow along with the whole messy process...
Before Baking.
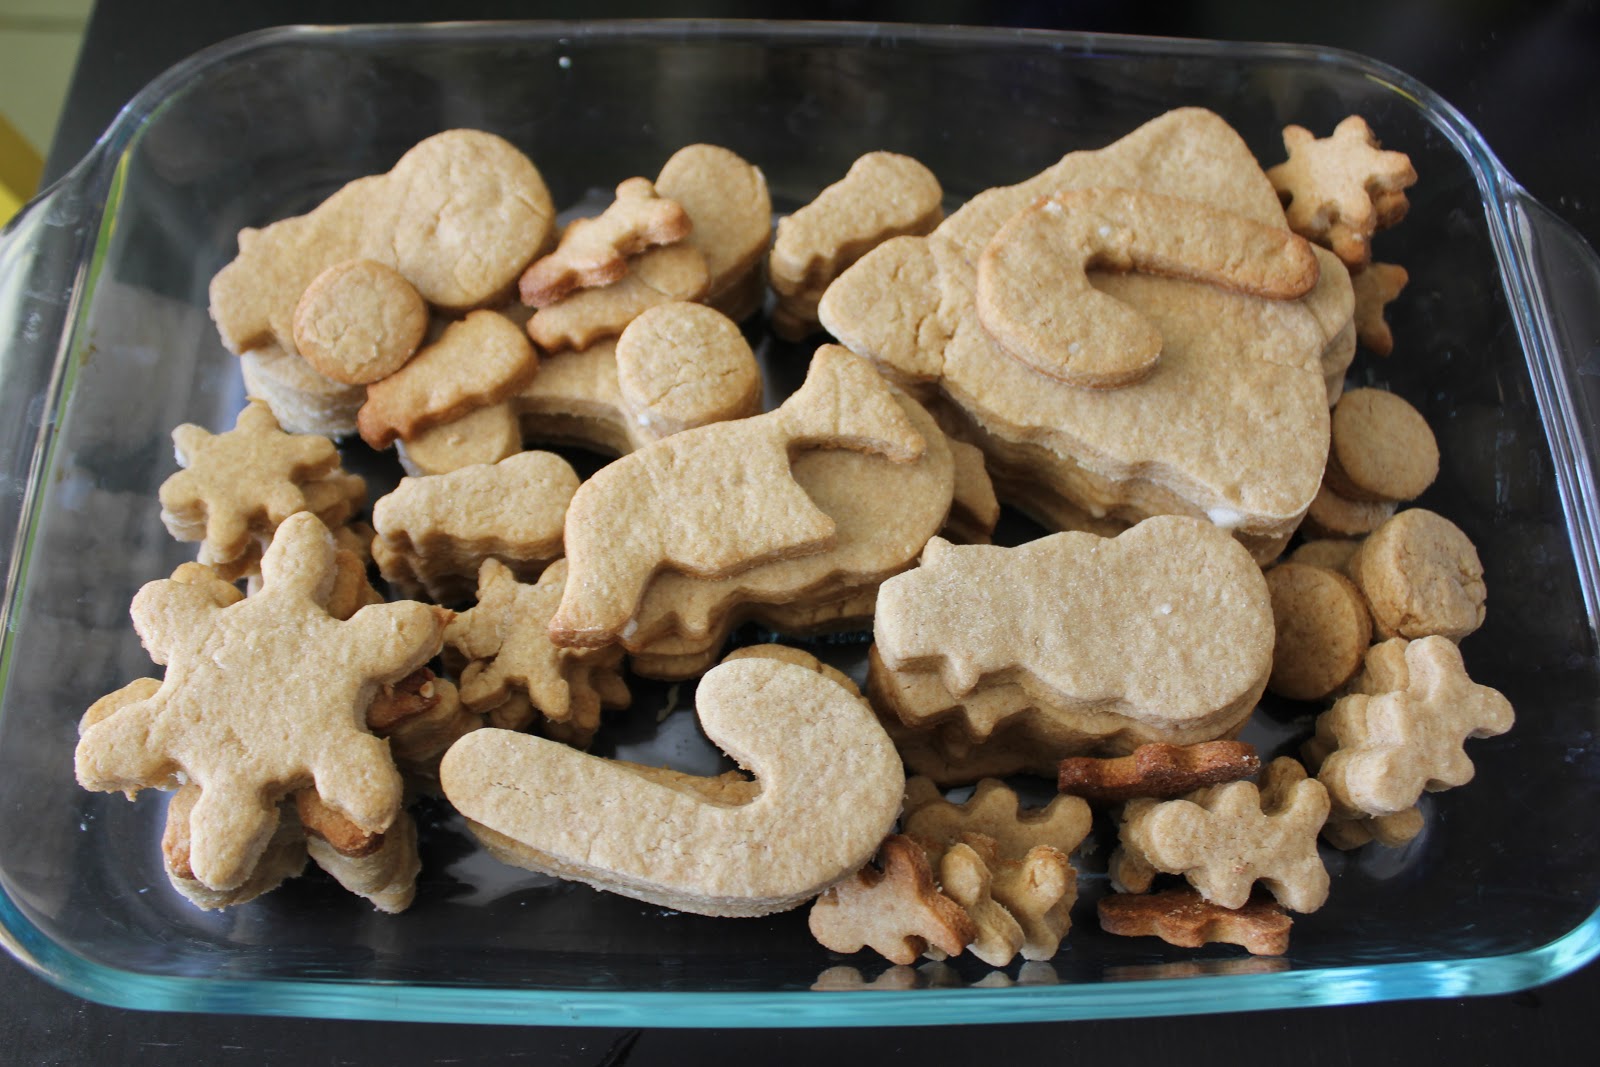
After Baking.
Waiting to be decorated until tomorrow.
The recipe above is what I used, but I think since I used almond milk instead of regular it prevented the frosting from fully mixing properly.  It has little white specs in it as you might notice below, I would use regular milk next time.
I have a few of these wonderful non-toxic sprinkles, that I've collected over the past few years.

*editor's note: Like anything else, it can be difficult to make a more environmentally responsible switch when the cost of the better product is so overwhelming.  Each one of these lovely sprinkles is about $5 and can be found here.  So, I made the switch slowly.  I kept all my old sprinkles, dyed with who-knows-what and as they ran out, I replaced them with these natural ones.  

It's the same advice I give to families who are considering cloth diapering.  You don't have to do it all at once!  It would be so overwhelming to make such a huge change, when you're already in a routine.  But, maybe, use cloth at night {less likely for baby to poop}.  Its the longest time period for the baby to have a chemical free bottom.  Then, as you get more comfortable integrate them in more frequently, you can add more cloth time and less disposable.  Keep your stash of disposables and use them when necessary.  Some environmental contentious change is better than none.  And It's the same for switching to a paperless kitchen.  You don't have to get rid of paper towels.  Keep a secret stash so you can clean up too gross of messes with those, or when your laundry didn't get done.  But, by slowly adding to your collection of cloth towels and using them instead of paper, you'll make progress.  And that's how it is with everything in our home.  We're making slow shifts in the way we shop as to not destroy our budget, but to allow for gradual environmental responsibility and overall health.  Hopefully, this extra information will allow for you to consider a similar path to Organic, Healthy, Environmentally friendly products.*

Note to self; I thought the parchment paper would help contain the mess.
It did not. 
Above: the finished cookies!

As for the cookie recipe itself, here's what I used...
1 1/2 cups softened butter
2 cups organic coconut or raw sugar
4 eggs
1 teaspoon vanilla extract
2 1/2 cups organic whole wheat flour
2 1/2 cups organic white flour
1 teaspoon salt

bake at 400* F for 6-8 minutes.

I also made these for my nephews by cutting the above recipe in half and fitting into the larger ball jars.  I added a unique cookie cutter for each.  {I modified and added chocolate chips and brown sugar to the one on the left}


Happy Baking and Gift Giving!


You can also follow along on TwitterPinterestFacebook, and Tumblr!

p.s. if you have a moment, I'd really appreciate your vote. Click the banner below and then the owl on the left. {No email required and no spam generated! promise}
Click To Vote For Us @ the Top Baby Blogs Directory! The most popular baby blogs

Saturday, October 29, 2011

No Waste Pumpkin Carving

I love decorating for holidays but one of my biggest frustrations is when people make something, and then throw it away a few short weeks later.  Or when new supplies are used to decorate for holidays and events, and then tossed.  I think it's so wasteful.  BUT, I'm going to show you how I was able to use every last bit of our Halloween pumpkins and still have a cute display!  I haven't bought anything new for this Halloween, except living pumpkins, and I even grew a few of those myself.

Here's what you do...
1. go to a pumpkin patch.

 2. Pick out a pumpkin...

 3. Have Daddy carry large pumpkin to the car.

4. Once home, gut the pumpkin.


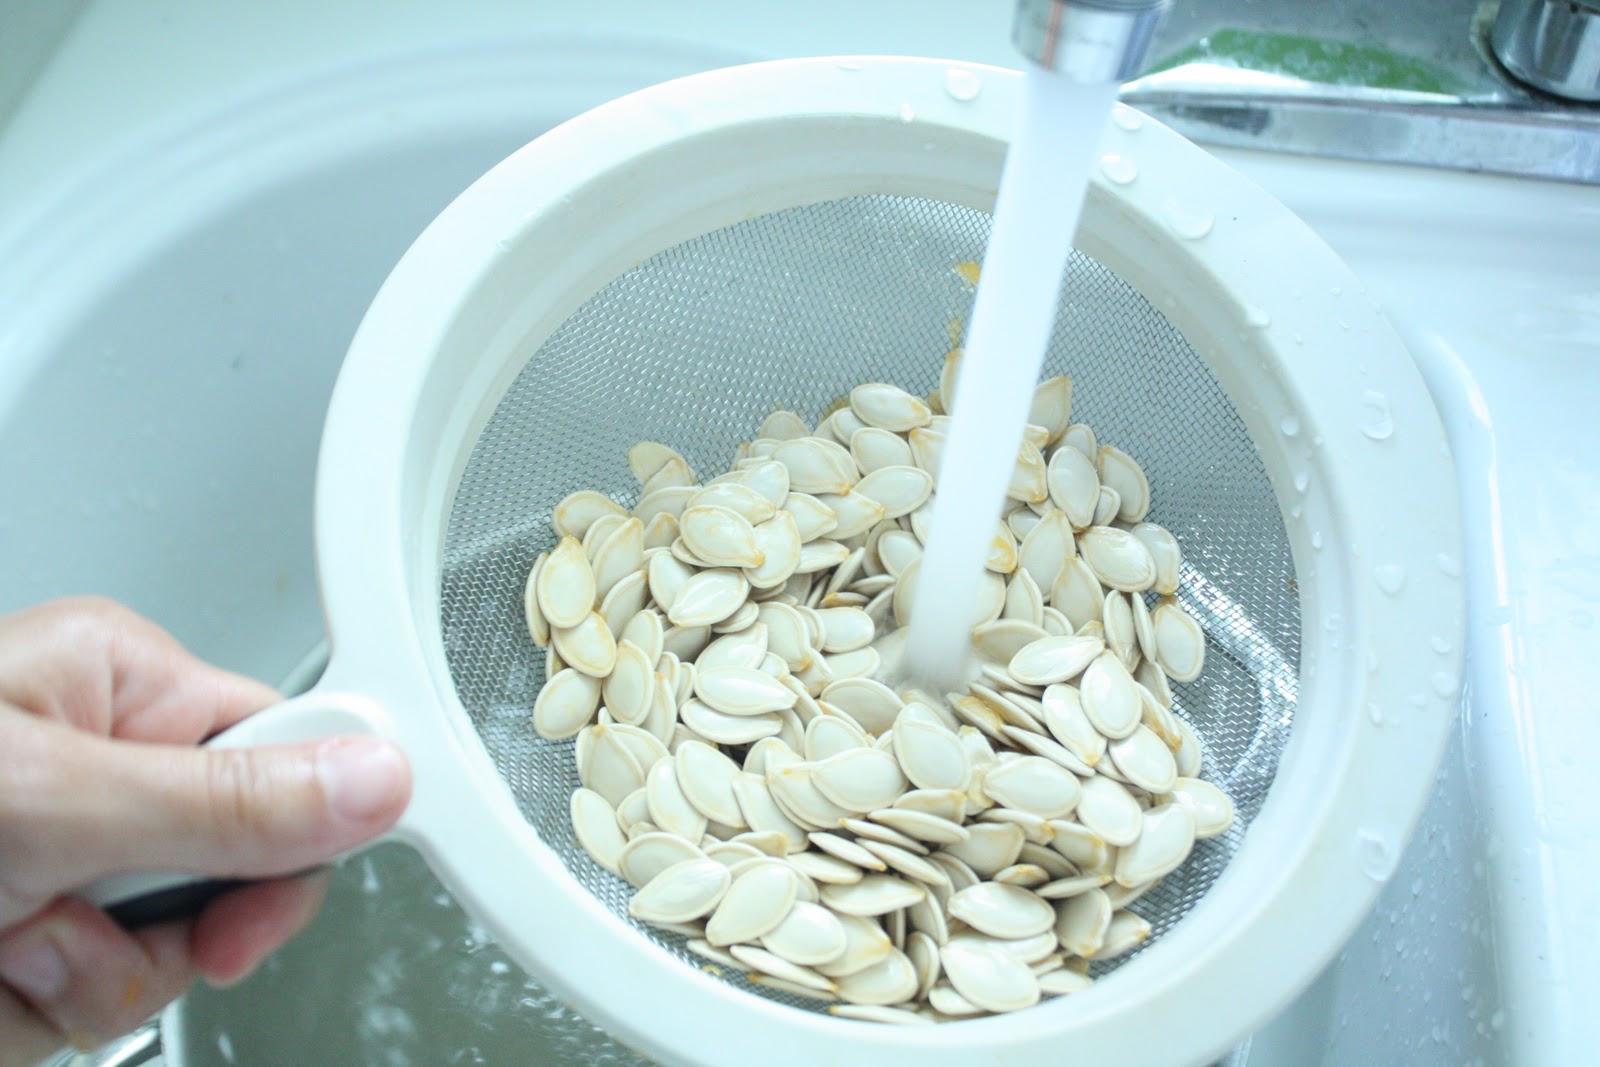
 5. Save the seeds in a strainer, rinse and separate from the stringlings.


6. Bake seeds on well oiled baking sheet 30 minutes at 325* F {may need additional time if not browning}


7. Carve pumpkin with wood carving tools and knives. Save any large pieces of the pumpkin flesh for baking.

8. Save all small pieces of pumpkin skin and seed stinglings for compost.
9. Bake pumpkin flesh as directed here. when peeling the skin off at the end, save for {you guessed it!} composting. Since I carve a few pumpkins every year, I have  a lot of flesh to bake, which I then use in pumpkin bread and pies.
10. Dump compost ready pieces into the compost pile and savor the nutrients your soil will receive {once the display pumpkin is done, toss that into the compost too}!

That's all there is to it! Simple, no waste pumpkin carving.

Oh and for the candle inside the pumpkin?  buy the metal tee light type and recycle the aluminum after the candle has burned out.

Happy Halloween No Wasting!

Tuesday, June 14, 2011

How to Make Cakepops and Reusable Sticks.

My sister in law is a bit of a baker, and well, I guess I am too.  So, when you combine us you get cakepops just for fun on a Tuesday.  Here's how we made them and here's how the original bakerella makes them.

First. Bake a cake.  I used this recipe. Let it cool
Second. Make frosting {that store bought stuff is gross}.  I used this recipe.

Once the cake has cooled crumble it into small pieces in a bowl.  Add about 1/4 cup frosting and mix together, if necessary add more frosting.  The cake ball mix should be cookie dough consistency according to Em.
Crumbling into a bowl.

Here's what the crumbles should look like.

Add the frosting.

Mix.

Form balls and set on baking sheet.
Place them in the fridge or freezer to set up.

I don't believe in buying those little lollipop sticks, they're not reusable!
So, I made my own.

I had some bamboo skewers, if you don't have any, you'll need to make a one time investment. 
Bamboo Skewers.

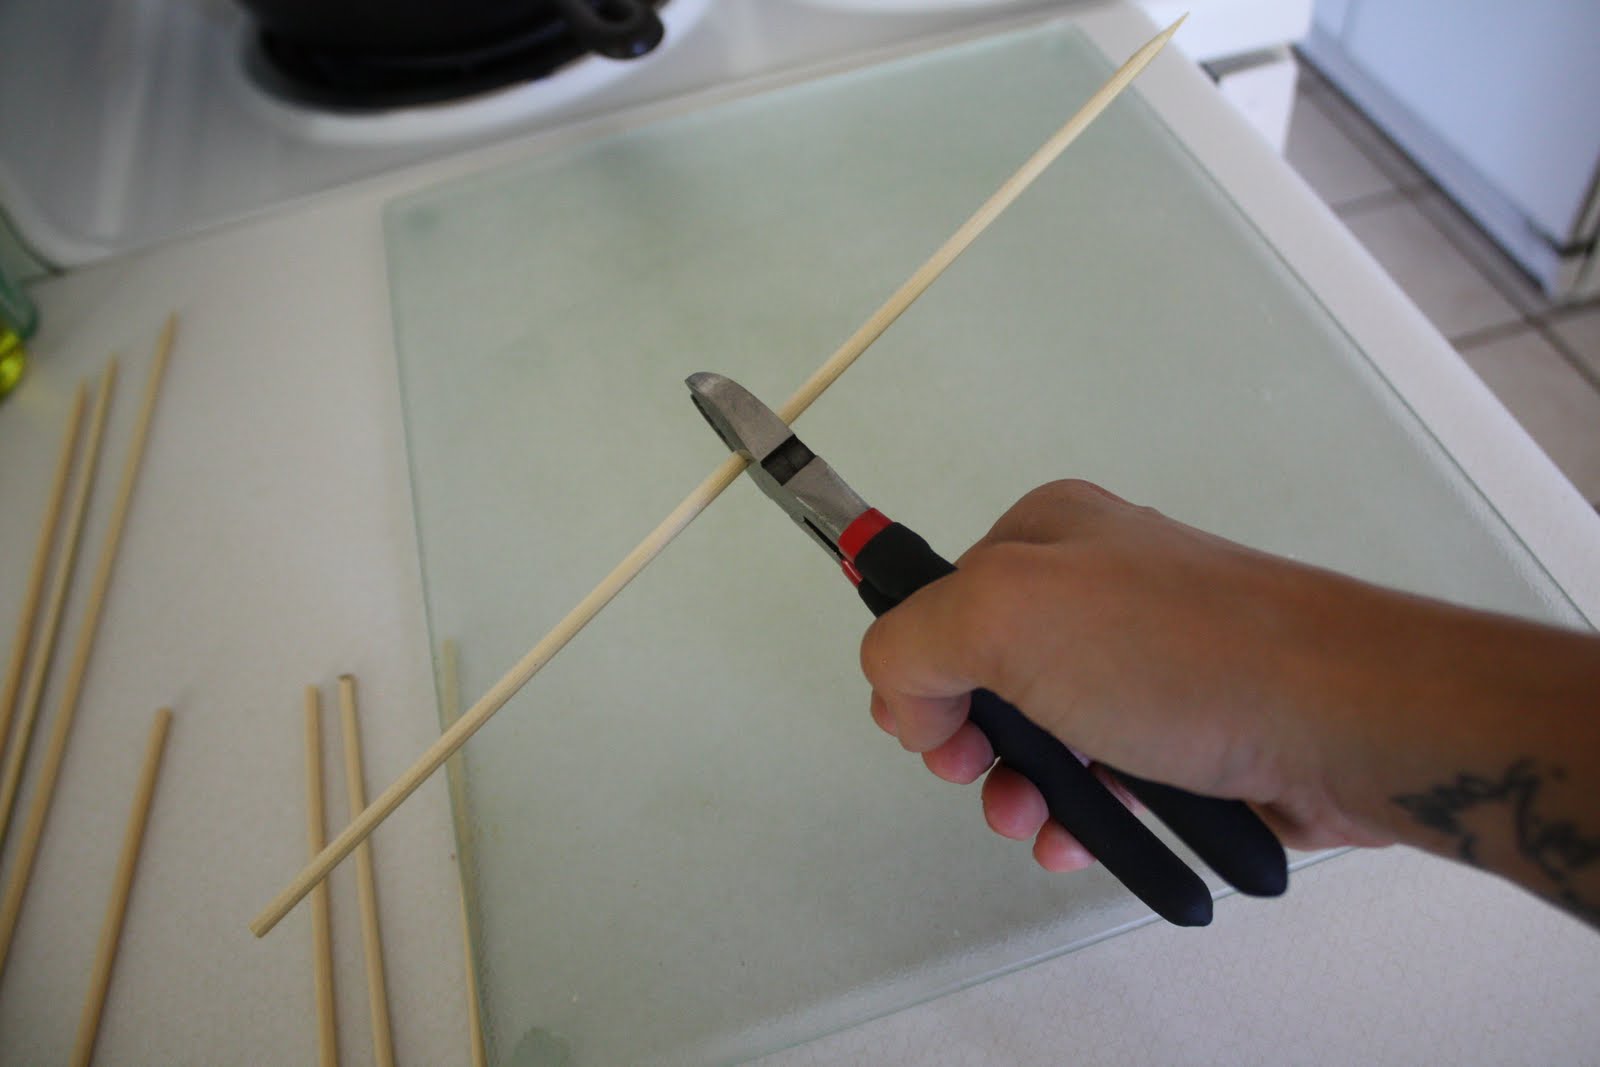
Something to cut them with.
Make sure it's clean!

Cut them in half!

Instant Cakepop sticks!
Discard or cut off the sharp end, if using with kids, I'm sure they'd stab themselves on accident.

Okay, back to the pops... Melt chocolate over the stove.  Use a pot of water and set a bowl onto of it.  Melt the chocolate.  Once melted remove from heat and dip the cake balls.  I realize I have no photos of this important step.  I'm sorry.  It's easy though.  here's a video to show you how. 

Once you dip them, DON'T put them in Styrofoam like the video says, use a ball jar full of rice!
Rice is biodegradable, Styrofoam is NOT!
I put mine in the freezer, since I used CHOCOLATE instead of the candy dip.
I don't like the ingredients in the candy dip so I used organic fair trade white chocolate.

Here they are setting up.
I added pink pearl sprinkles from whole foods.

I ended up fitting about 6 pops in this cup so you will need a few jars of rice, but the rice was unharmed and I will probably cook with it after this!

Finished product!

Happy Cakepop Baking and Modifying!

Here's what I'm aspiring to.

Tuesday, May 31, 2011

D.I.Y. Handmade Exchange!


I have an idea and a goal. I want to introduce the idea of a Do It Yourself Handmade Exchange. There is only one rule; make something, trade it with someone else for something they made.

That's it.

Now, I want to suggest some guidelines, but not rules.  I would recommend that you establish a price range. My pieces either cost around $10 or would retail for about that amount.  Your pieces should be about the same if you're going to trade with me, I'd prefer if everyone who participates keeps a $10 minimum just to keep it fair.  I will make you something of my choice (maybe give you some input options) if you promise to send or make me something too.  

All you have to do is leave a comment with a way to contact you and I will follow up to exchange shipping info. with you via email.  

If you are local to the Phoenix area I might meet up with you to do a real life exchange.

If you conduct a D.I.Y. Handmade Exchange party please link up photos and ideas. This is my new project and I will revisit the idea and project frequently.  If you make something, anything share it with the people you know and love.

Use this button if you'd like to share the idea or concept, link back here and tell me about your successes. You don't have to directly participate with me, here, to be a part of this concept.  My goal is to get the idea out about sharing handmade items or foods with your community.  If you want it, here's the HTML for the button:

Happy D.I.Y. Handmade Exchanging!

Add your link below:

Monday, May 23, 2011

Momma Monday no. 41

Monday, I went grocery shopping as is my usual routine.  I came home and cooked and baked.  I made some couscous, so good! and some granola bars, also delicious. 
I also ironed, yes. Ironed Cupcake's shirt.
Tuesday was Husband's day to hang out with Cupcake while I taught art, he ended up getting home a little early.  I was just returning from a friends house when we both pulled into the driveway.  I thought since he was home early we'd get to enjoy lunch together, our dog on the other hand thought we should spend the time cleaning up poop.  yeah, poop.  As if I don't have enough of that to clean up from a baby... One of the dogs pooped on our living room rug, and instead of eating lunch we took it outback and sprayed it off.  I'm so sick of poop...

Thankfully, we got some rain on Tuesday though. :)

Sonja and I played out back for a bit while it sprinkled.

She loves playing with my sigg

and she just discovered the rocks in our backyard.
Thousands of choking hazards!

Wednesday night we met some friends for some vegan food from Green. The chef catered our wedding, that's how much I love his food.
Soy-namis (like tsunami) in the parking lot.

Thursday, Sonja and I were playing in the livingroom in our pajamas when we got a pleasant surprise... 
My aunt showed up with a sweet gift!
I've been wanting a GLASS drink dispenser with metal spout for years now!
She is amazing and thoughful and sweet and bought me one!
Thanks Jenny!!

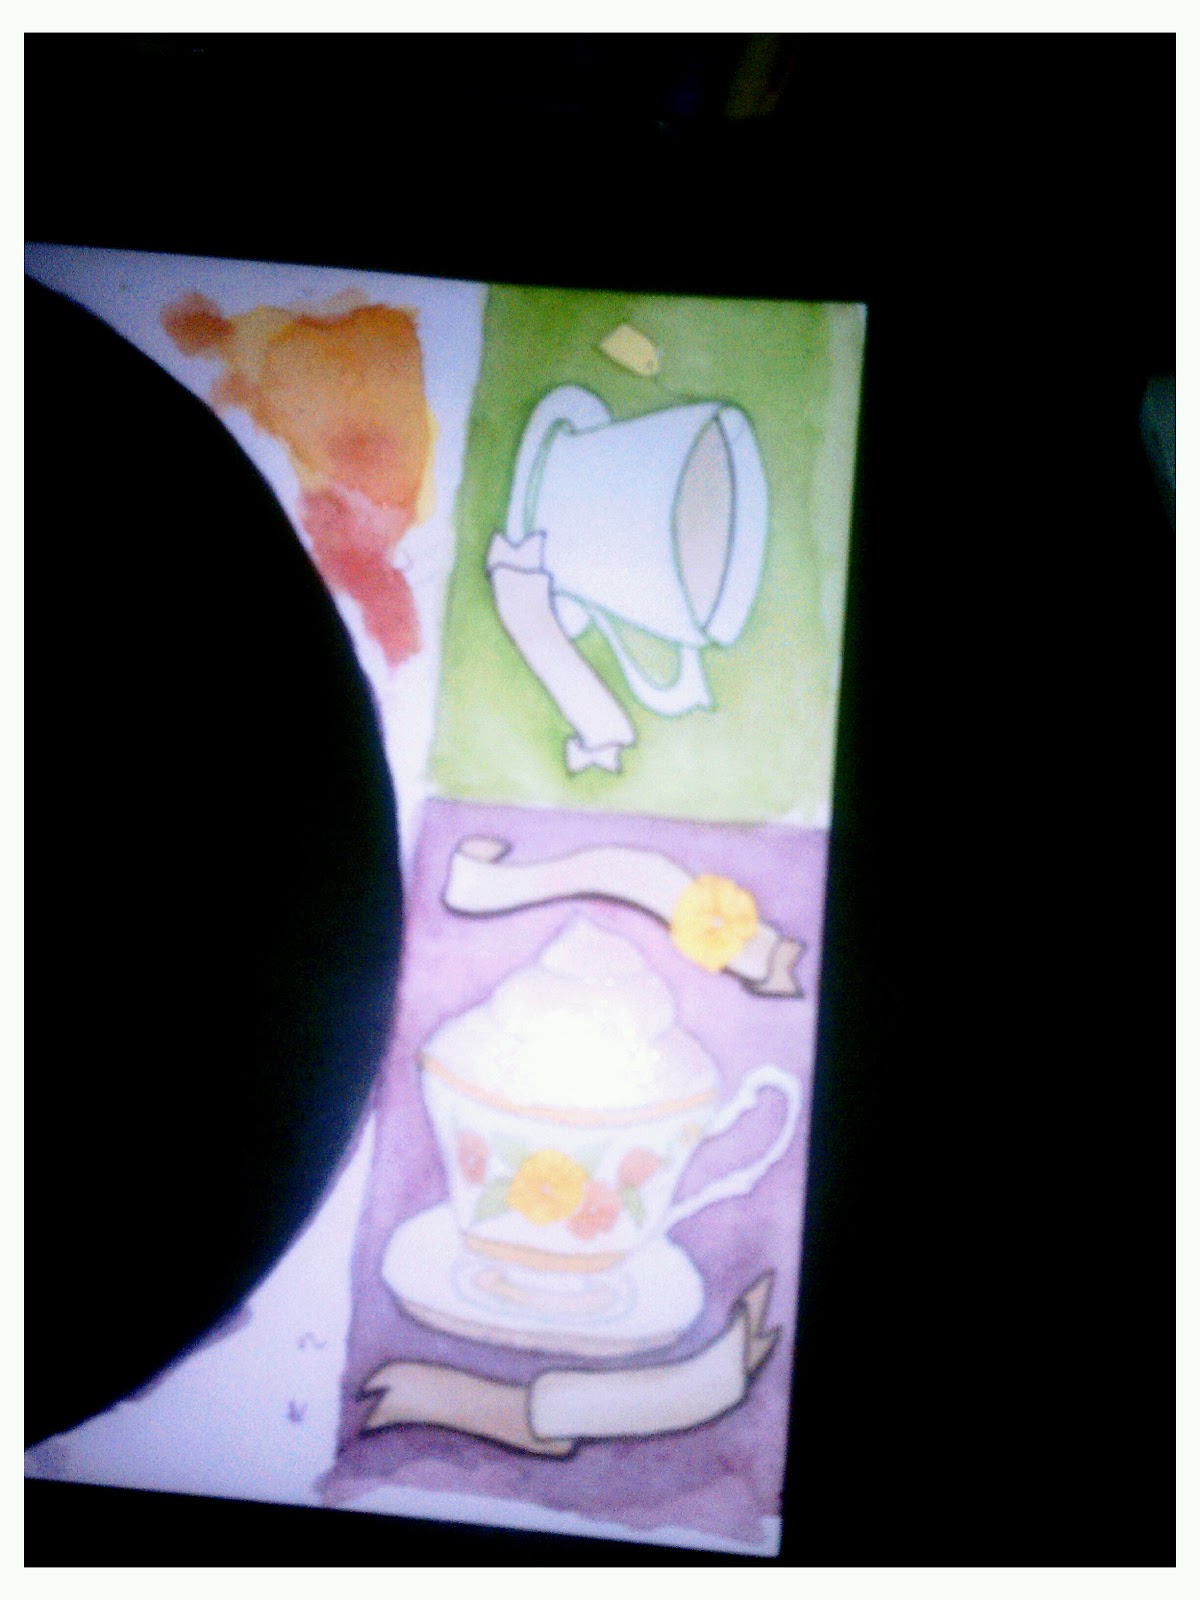
During nap time, I got some paintings done...
 They're small, just 3.5x5 in.
I left the spaces blank for now, going to list some of these little guys on my etsy shop.

Friday night, we went to a few art showings.  The first was at After Hours Gallery and there were some amazing cupcakes and food (obviously the art was great too).  After the first stop we went to the Hive where Katie had a few pieces.

Papa and Cupcake hanging out while I snacked on these: 

Cupcakes by Ashley's Cupcakes and More.

Later at the Hive...
I was testing out my manual skills on my SLR but it took me a while to get it how I wanted it... 


This huge circular light was so intesting and I LOVE how it looked at night.

When I checked my facebook on Friday night, I saw several of my friends had posted this media coverage about home births.  That's my midwife and my friend Jamie they intrviewed!  Take a look :)

Saturday, I had a small yard sale in the morning to get rid of a few items and get some extra cash for future furniture projects.  I made $53 (my goal was $50) from 2 TV.s, a bag of flip flops, and an old dresser. After the sucessful yard sale; we went to our midwives grand opening of their new community space.  If you're not familiar with Midwives Rising, check out their blog here

My setup.

I did some facepainting for the kiddos there.


Tammy Coe and MJ Bread donated some sweet pasteries!

Babies!

Some wonderful music.

Shell and some of her babes

Lovely Little Duck I painted.

an owl I painted on Mani

Getting ready for the kid parade!


Sunday was a lazy day we relaxed at home with some root beer floats and enjoyed some family time.

Happy Momma Monday! Hope your week is off to a grat start!