Showing posts with label Painting. Show all posts

Friday, March 1, 2013

DIY Chalkboards {upcycled frames, cardboard & spray paint}

I wish I could say I found these frames at a thrift store, but after MONTHS of looking, I finally found what I wanted, at Hobby Lobby.  Thankfully, these were on sale 40% off and since they were the wrong color, I still had to upcycle them into something I wanted.
Frames total cost was about $40 and spray paint another $6. 
I did a bunch of projects all at once but you can see the frames drying.
While those were drying I used this chalkboard spray paint another $8 {I didn't even use half the can} to paint this cardboard lid.  I painted 3 coats of the chalkboard paint, allowing to dry COMPLETELY between layers. 
Once dry I cut the box down to fit the holes on the frames. I used a combination of scissors and exacto blades to get a perfect fit. 
I didn't even have to use glue they just fit from pressure.  Since these are just temporary frames for my baby sprinkle, I didn't want to make them on wood, and this way I can discard the chalkboard if I want to later and add a real painting or images to the frame guilt free. 
All done.

You can see them in use at the baby party, here.
-Jenn


You can also follow along on TwitterPinterestFacebook, and Tumblr!

p.s. if you have a moment, I'd really appreciate your vote. Click the banner below and then the owl on the left. {No email required and no spam generated! promise}
Click To Vote For Us @ the Top Baby Blogs Directory! The most popular baby blogs

Thursday, February 28, 2013

Epoxy Bee Painting And Photo Transfer {a D.I.Y. How to Guide}

For my baby sprinkle recently I wanted to add a few bee artworks to display.  I ended up googling a few images and printing them really big (with TONER, not ink jet ink).  My Aunt's father cut wood to size and this is what I made...

Using Gel Medium, I covered the wood board evenly and then placed the image face down onto the wood.
Make sure the medium is as even as possible, work all the way to the edges. 
Place image face down onto the wood, so you can no longer see the image
Smooth out all air bubbles.
and wrinkles if possible.
Allow to dry over night
The next day, remove as much paper as possible, while dry.
THEN, spray with water and using your finger nails remove more paper fiber.
Just scratch it away gently in case you missed air bubbles.
Eventually, you'll want to switch to your finger instead of nail, because the fiber is really fine and you need to rub it off as opposed to scratching it off.
Normally, I'd remove more fiber, but since I was coating in Epoxy this was good enough.
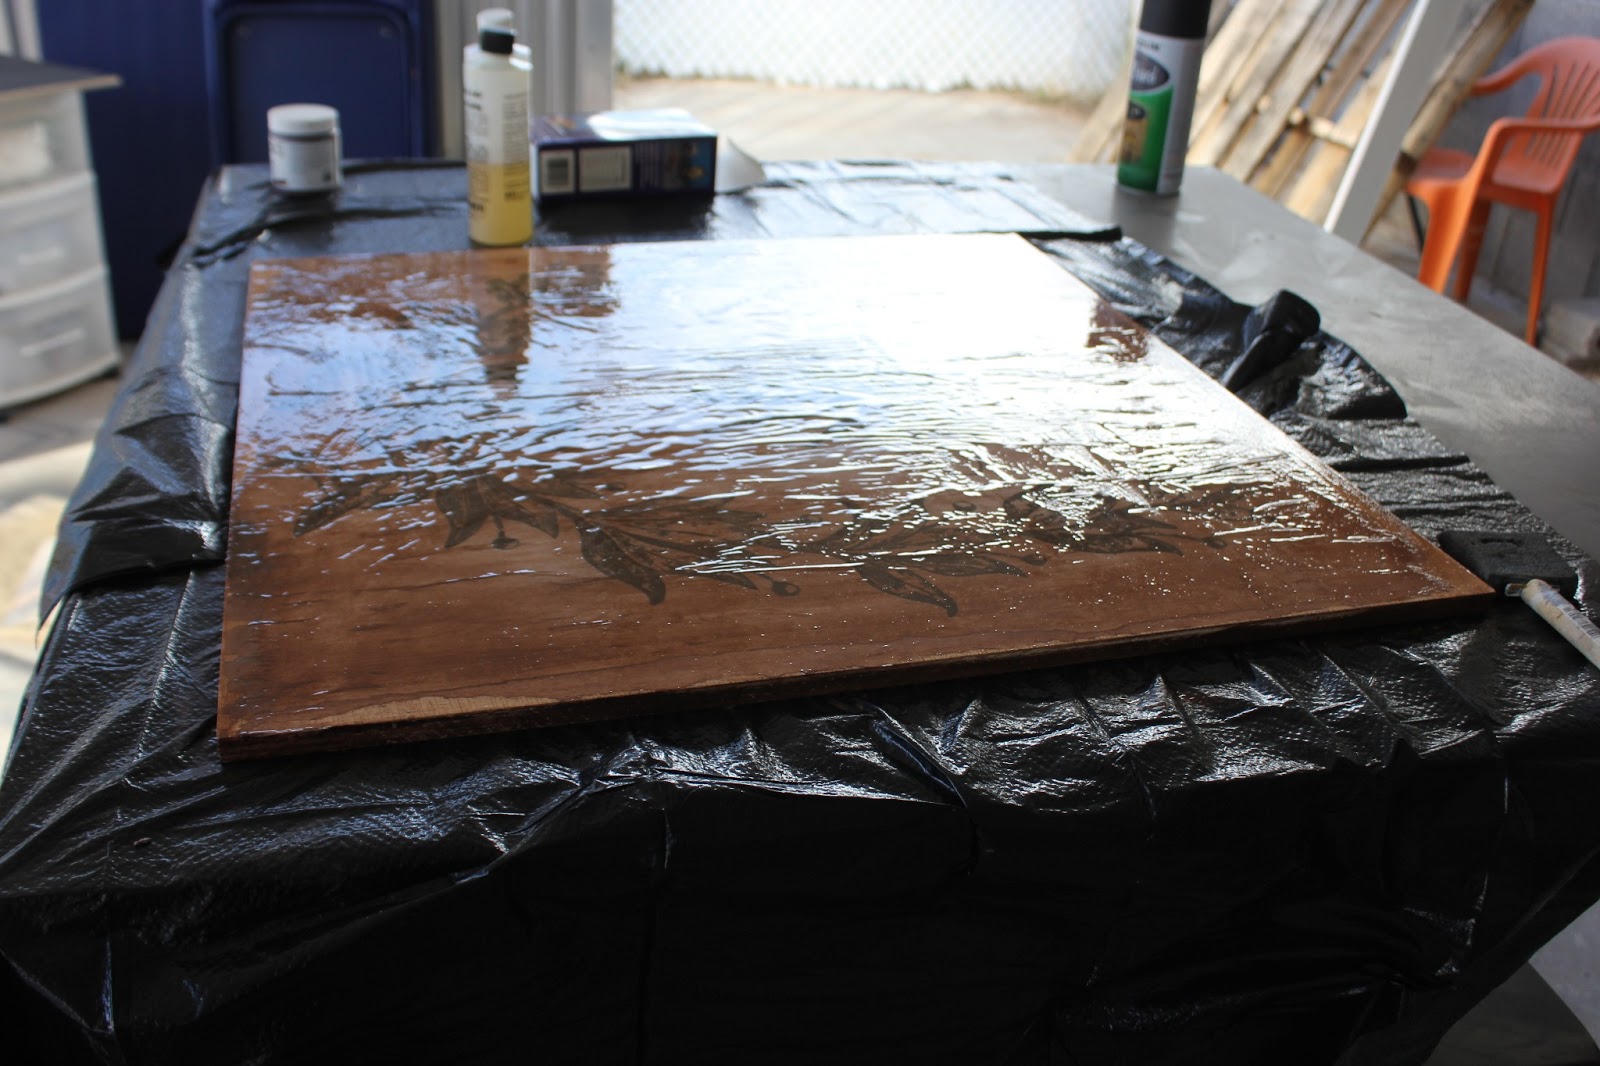
On top of a trash bag pour epoxy resin mixture over image and cover evenly using a brush you don't care about.
Make sure to leave the brush on the trash bag to dry along with the painting.  Allow to dry overnight.  Anything the epoxy resin touches will be rock hard {or sticky if not mixed properly}.  DO NOT GET IT ON ANYTHING you don't want destroyed.  It's MESSY!!

I also made a collage type board.  Instead of transferring this image, I simply mod podged it to the wood board.
Using mod podge or gel medium, paint the wood board or BACK of the image.
Place image face up, so you can see it, on the board.
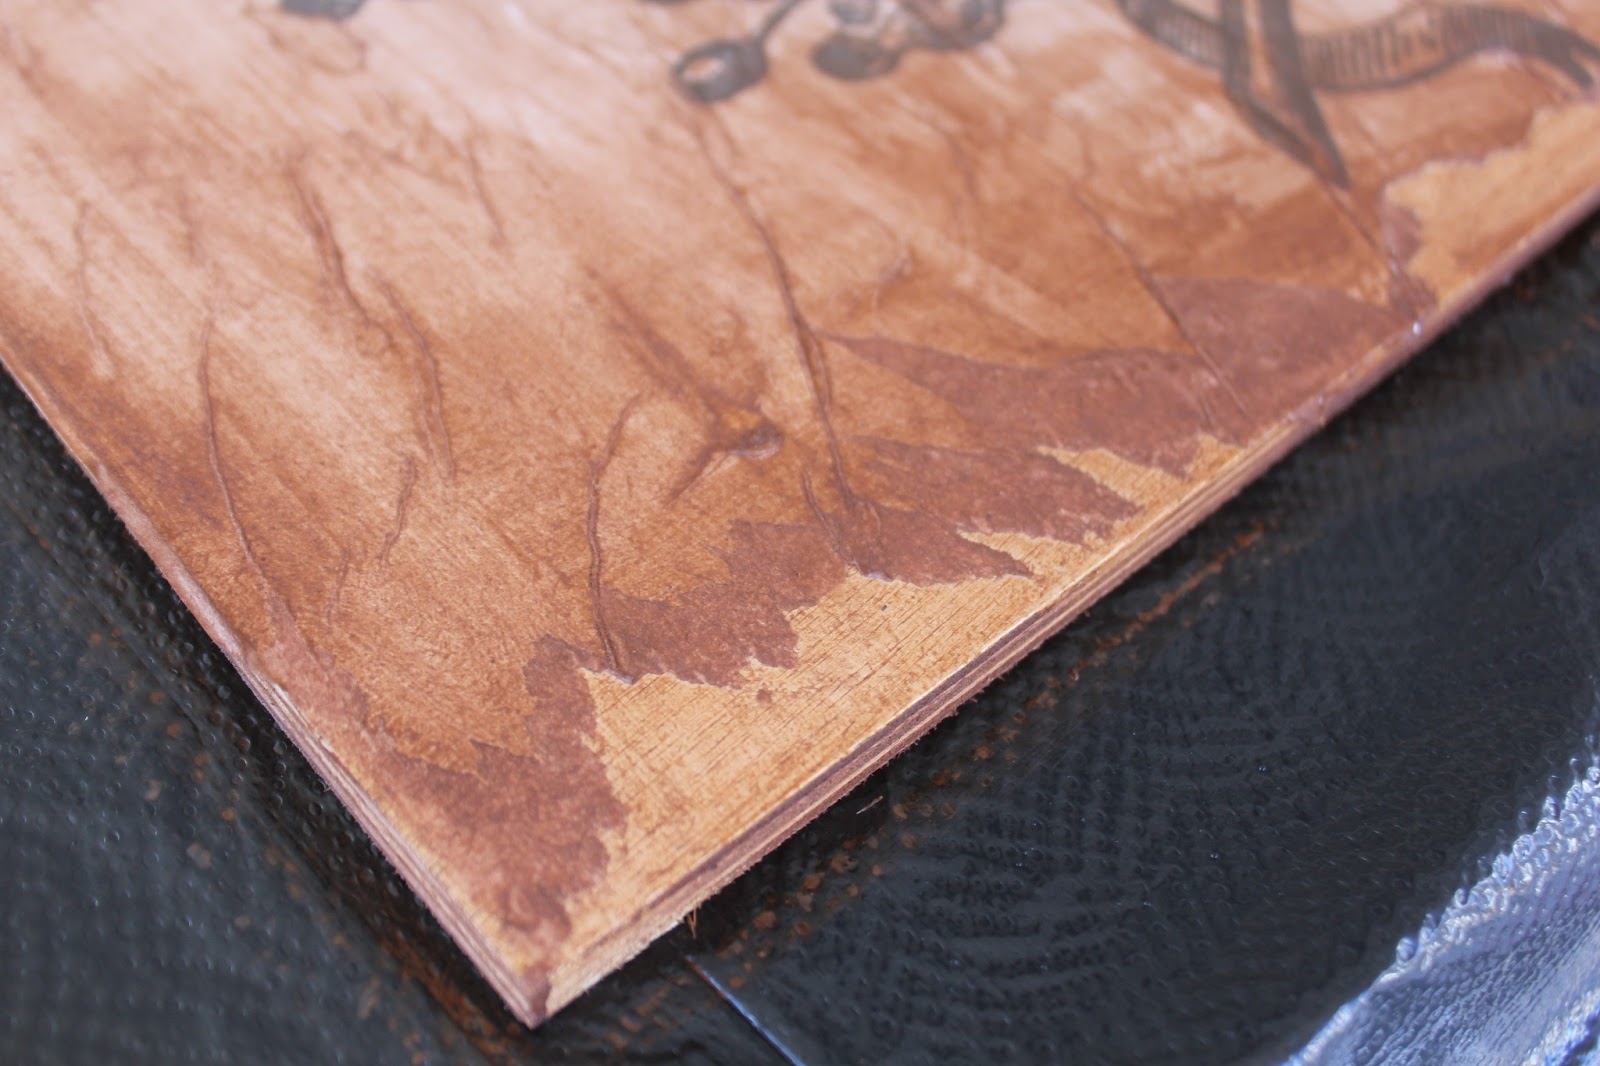
Then, I used some watered down brown paint to add texture and color.
Allow to dry overnight then rip off the raw edges of the image, anything not glued down was removed.
I painted another light layer of brown on the edges, so the white paper was not showing.
Add as much paint and texture here in this step as you'd like.  Allow to dry.
Once dry, mix epoxy resin and pour over painting to give it the final gloss effect.
I was in a hurry so I just mixed it directly on the image, although I recommend the cup method as instructed on the packaging.  I just didn't have two cups to waste.
You must mix equal parts WELL or risk sticky, toxic problems.
Once well mixed cover ENTIRE image with mixture
Make sure you're working on unopened trash bags or you could damage your work surface, or your artwork might also become glued to the surface, neither are a good option.
WORK ALL THE WAY TO THE EDGE OF THE CANVAS OR WOOD.
Allow to dry overnight.
Above, drying. Below, on display at my Baby Sprinkle 
{I just added a ribbon with nails on the back to allow for it to hang}.


Happy Photo Transferring!
Jenn


*Disclaimer* I don't have the sources for these images, if you are the original artist please let me know so I can credit you.  I did not remove watermarks for these images, however when printed in black and white, one did lose it's signature.  Also, I don't EVER use copyrighted images to make money.  These are strictly for personal use.


You can also follow along on TwitterPinterestFacebook, and Tumblr!

p.s. if you have a moment, I'd really appreciate your vote. Click the banner below and then the owl on the left. {No email required and no spam generated! promise}
Click To Vote For Us @ the Top Baby Blogs Directory! The most popular baby blogs

Friday, August 31, 2012

Functional Friday no. 32: How to clean up spilled paint on tile.

My Brother and Sister In Laws moved in this past weekend and they helped us paint their new room a light shade of gray.  It turned out awesome.  What wasn't so awesome was the paint my sister in law spilled, she and my husband sort of freaked out and were about to wipe it up with towels, but I quickly stopped them!

The best way to clean up a large amount of spilled latex or acrylic paint is to LET IT DRY!

Husband doubted it would dry because it was so much, but by mid afternoon the next day it was dry, I suggest putting a box or something on top of the paint so no one steps on it {we had to keep redirecting the dogs} but once it's dry it will literally peel right off the floor...
Mid drying state.
 checking to see if it was in fact dry...
 Once you're sure it's dry lift the whole blob of paint slowly so it comes up in one piece.
It actually cleaned some of the grout too.
Ta Da!
...and just throw it in the trash.  Easy Peasy.


Happy Painting!


You can also follow along on TwitterPinterestFacebook, and Tumblr!

p.s. if you have a moment, I'd really appreciate your vote. Click the banner below and then the owl on the left. {No email required and no spam generated! promise}

Click To Vote For Us @ the Top Baby Blogs Directory! The most popular baby blogs